
How to Prepare Home to Adopt a Kitten: Complete Guide 2025

Did you know that over 3.2 million cats enter U.S. shelters every year, with kittens making up nearly 70% of that number?
If you are ready to open your heart and home to one of these adorable fur-kiddos, congratulations! You're about to embark on one of life's most rewarding journeys.
But here is the thing – bringing home a kitten isn't just about having cute Instagram photos (though you'll definitely have those). It is about creating a safe, comfortable environment where your new tiny, furry kiddo can thrive. I have helped many first-time kitten parents navigate this exciting transition, and trust me, proper preparation makes all the difference between a smooth adoption and those frantic midnight runs to the pet store.
Whether you are adopting from a shelter, rescue, or breeder, this guide will walk you through everything you need to know about kitten-proofing your home and gathering essential supplies. Let's turn your space into a purr-fect kitten ready home!
Essential Kitten Supplies:
Food and water bowls
Kitten food- it is best to start on the same food type and brand they are on by the time you pick them up since their stomachs are sensitive like senior cats.
Litterboxe(s) (1.5 litterboxes per cat is the bare minimum request. Most people do 2 litterboxes per cat)- make sure it is low enough for your kitten to go over easily, at first. Worst case you have to start with potty pads and put some litter on if your kitten is very small.
Clean up supplies (there will definitely be accidents)
Kitten carrier- I do not recommend getting too big of a carrier unless you plan on providing enough cushion for traveling in the car (Veterinary staff love carriers that clip off the top lid)
2 scratching posts (minimal) per cat (it is recommended to get more if you do not want your carpet or furniture scratched consistently)- for kittens you can start off with simple scratch cardboard boxes found at your local pet store
Interactive toys
Cat tree or climbing structure(s)- I would start small until they get bigger
Grooming tools if you would rather not go to a groomer (kitten sensitive shampoo and conditioner, brushes, nail trimmers, *de-matting tools for long hair kittens for when they get older)- start with gentle tools and lots of treats so it can help provide your kitten a good experience with grooming
Collar with ID tags (good if you plan to bring your cat everywhere with you)
Feliway (this is not essential, but I highly recommend having on hand, just in case)
Creating a Safe Environment In Your Home
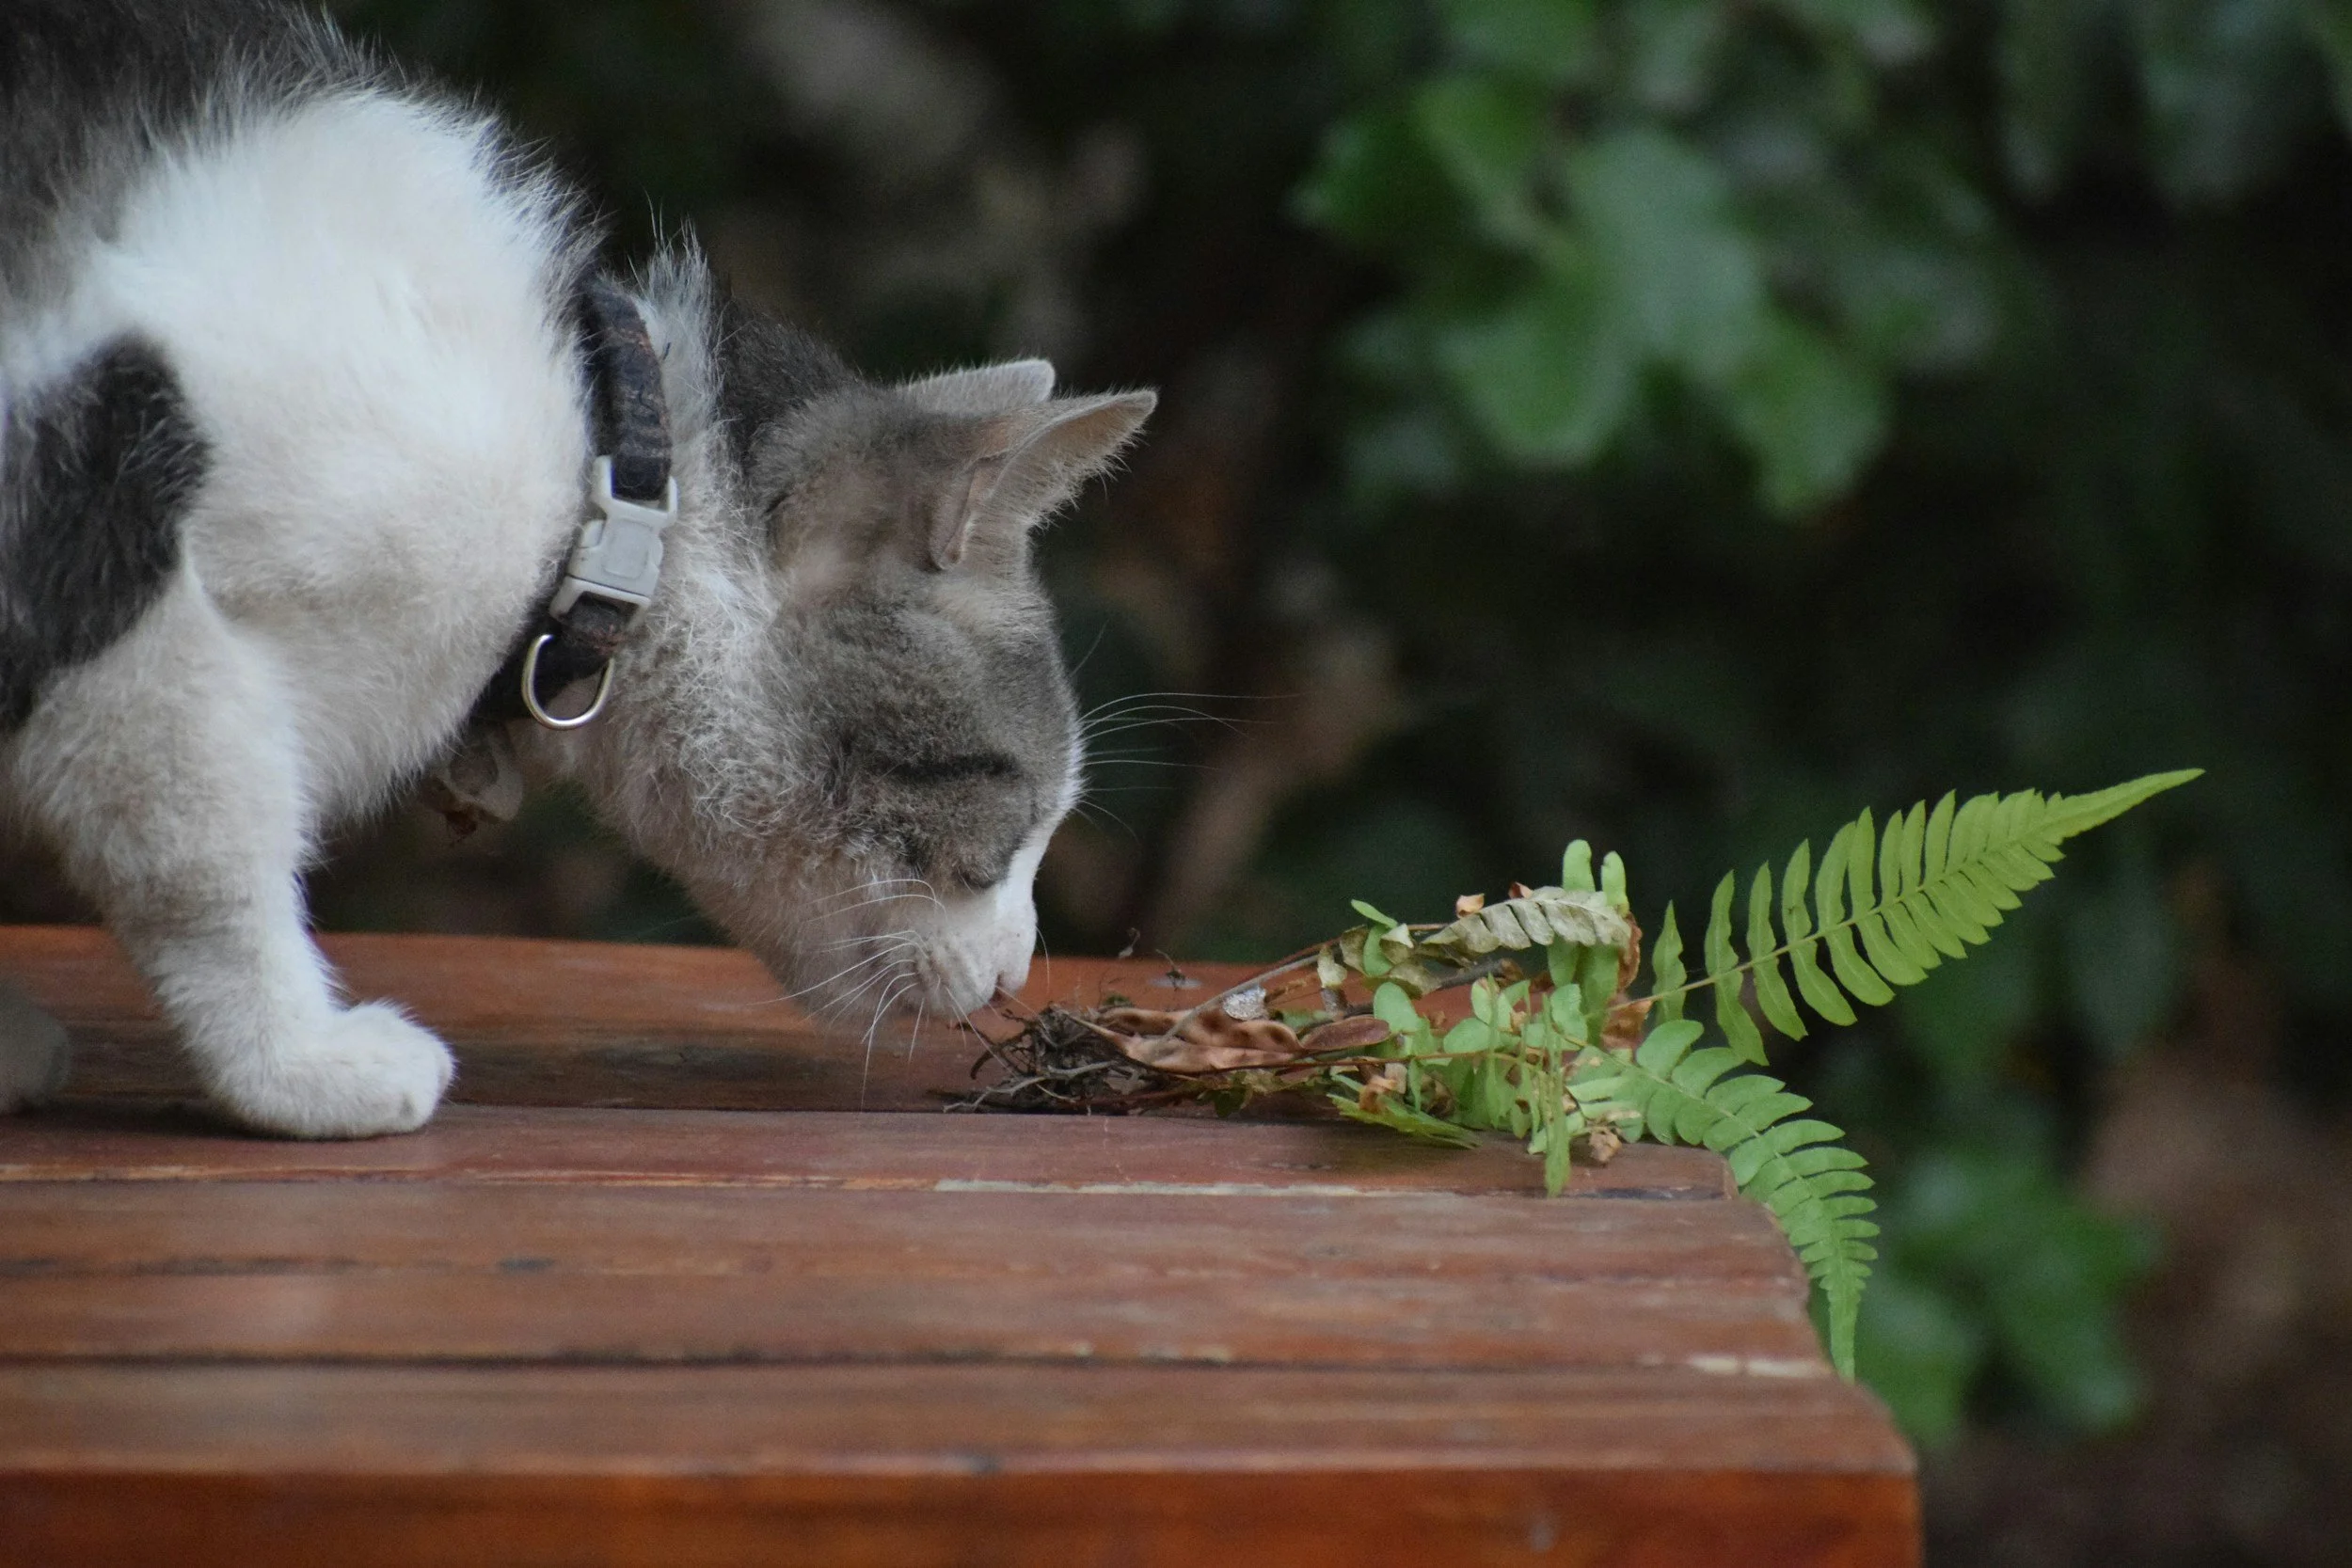
You cannot 100% prevent your kitten from getting sick or getting hurt, but taking extra measures can help especially while they are adjusting to their new home. Remove toxic plants or move them to a secluded room (be aware cats will still sneak in the room if they really want to). My boys do not like it when they do not have access to a room.
Remove or secure toxic substances. Cats like to smell everything and pick up small things with their mouths. Kittens are much more curious. Better to be safe than sorry. Secure breakable items. It is better to have all, if not most, breakable decorations in a decorative cabinet or glass shelf. Kittens get a lot of zoomies and are very playful. My youngest boy is not graceful while walking around things and my oldest boy likes to knock small things over on purpose when he is feeling sassy.
Install window screens. This is good for your cat to be able to enjoy fresh air without them getting hurt, scaping or any animals getting in. Test and check all potential hiding spots. You want to check to see if there are potentially dangerous items or hiding spots so they can be moved or blocked off. When my youngest boy, Jace, was a kitten, he would hide under the dishwasher when he was scared, so we stuffed a towel in there, so the dishwasher was not running while he was under there.
Secure electrical cords. This is also very important to not just save your electronics, but for the safety of your kitten. Some will chew on cords, so it is best to keep them hidden.
Preparing your home for your new kitten’s safety does not prevent all accidents, but it helps relieve some stress from both you and your young furry kiddo.
Setting Up the Perfect Transition Room
Why would you need to set up a transition room? Cats tend to be more nervous to change. Cats love routine even more than most dogs. Kittens do tend to be more on the curious side, but this also is depending on their experience before meeting you. Some kittens are lucky and born in a nice home environment. Some kittens were born strays and had a rough start. A transition room helps provide a smaller safe space for your new kiddo until they feel comfortable to explore more of your home
Coming from a shelter can be stressful to any pet due to all the noise, people they meet and animals they see. Being transported to an unfamiliar home can be very stressful. Having a smaller space to decompress helps your kitten have a cozy safe space to decompress. Note you may have to adjust these tips to fit yours and your new kiddo’s lifestyle and personality.
Choose a quiet, medium- sized room that is not overly active in foot traffic. Bring in food bowl, water bowl, litterbox, bed, and toys. If you would like to take the extra step, cats tend to like hiding spots in cardboard boxes, caves or furniture to retreat under.
Feliway is a good option to help your cat adjust, especially, if they are very stressed. Please be warned Feliway does not smell the best, but it does normally work. Feliway can be purchased at pet stores, Amazon or your local vet office.
Litter Box Setup and Training Preparation
This section is for new kitten parents whose kiddo is either very small, 8 weeks or younger, or just not litter box trained. Having to litter box train is a process, just like training a puppy to potty outside. It does require consistency and patience.
Get a litterbox that your kitten prefers, this does include adult cats too. Please also choose a litterbox that best fits your home and lifestyle so use your discretion as you read. I personally would start with an open litter box for a new kiddo. I have found my boys prefer it more than the closed options. Some cats may end up preferring an enclosed space for privacy.
It is more work to have to scoop litter, but I like to make sure my new kiddos eliminations look okay. I check for possible worms, blood and super intense smells to note to the vet for their first vet visit. Again, go by your lifestyle and preferences.
If you have a kitten, depending how small they are, get a lower litterbox that is easy for them to access, some cases you have to start with a cardboard box or potty pad with litter on it. We adopted Jace when he was 8 weeks old and he was so small he would defecate right outside of the litterbox because it was too hard for him to jump over when he had to go to the bathroom.
Just like the litterbox, choosing the right litter will be a process. For kittens, you can start off with kitten specific litter. This type of litter tends to be smaller grains that should be more comfortable for their sensitive paws. If you have other cats, you are more than welcome to start with your current litter. I would just be prepared in case your kitten ends up not liking the texture or smell.
When Jace was having litterbox problems, we tried to switch him to kitten litter. Him and my older cat, Kani, did not like it at all and preferred Kani’s current litter. We traded some of the litter boxes to lower litterboxes for Jace, used Kani’s litter and sprayed Feliway in spots around the litterbox because that where Jace would end up defecating.
When choosing a litter, note that kittens and cats do not like citrus scents, tend to not like loud noises around the litterbox or anything around that will suddenly scare them.
When you first bring your kitten home give them about 10-20 minutes to explore then show them the location of the litterbox. Some may go right away due to all the stress or long car ride; some may continue exploring.
Clean the litterboxes everyday. This may be excessive to some, but my cat Jace was picky about this in the beginning too.
Provide treats right after you witness them using the litterbox. It is important to provide them with treats each time you witness them using the litterbox and right after they use the litterbox. This is so it can click easier in their brain that eliminating in the litterbox is a good and right thing.
If your new kitten ever eliminates outside of the litterbox, show them where it is each time. I know it can get hard and stressful if your new kitten keeps eliminating outside of the litterbox. My boyfriend and I tried almost everything to help Jace.
We changed litterboxes, we changed the litter (made it worse), we tried providing treats (it still was not clicking for him because he started getting used to eliminating outside of the litterbox), we provided pets when he would use the litterbox, we cleaned the litterbox every day; and it all did not work. Switching litterboxes did help, but he would still go outside the litterbox until we sprayed Feliway.
We sprayed Feliway on each surface we found eliminations on for a couple of weeks, and it stopped entirely. Now we have no issues with either of our cats.
If it continues after you have tried everything, get veterinary advice. They may have recommendations that I and others from the web have missed or will recommend a behavior specialist.
Long Term Success Strategies to Keep Your Kitten Happy and Healthy
This can be considered the most important one. Be sure to maintain consistent routines. This is not easy especially if you work non- consistent hours, but it is important to try for kittens getting used to a new environment. Kitties thrive in predictability and structure.
Establish boundaries gently. Not everyone may agree with me, but this is how you start to earn your pet’s trust and respect. You do not know the previous environment they came from or what they have been through before. Using positive reinforcement like treats or pets can be beneficial. Some people have even used clicker training with kitties and have been successful.
Provide mental stimulation. This includes wands, puzzle feeders, battery operated toys and even you can interactively play with them. This gets their brain working since they are not out in the wild and can help them from getting bored. Kittens love playing. They will play then sleep all throughout the day. You and your other pets may or may not be able to keep up with their energy, so getting battery operated toys can help.
Monitor weight and nutrition as kittens are more prone to weight gain after being spayed or neutered.
Groom regularly for most cats. It is good to start grooming routines early as it helps desensitizes your kitten. Some cat owner do not believe in this method and I do entirely understand. I am open to suggestions, but these methods have helped my kiddos learn that they are going to get their nails trimmed once a month and brushed every season. Most cats do not like being groomed and being given a bath so, bring lots of treats. I do recommend giving your kitten a bath once a month or once every couple of months if they are a long hair breed and will mat easily. Even if you do not use shampoo, getting them wet and rubbing them down will help them get used to the process. Most cats enjoy being brushed but hate being held down being brushed when they are shedding. When Kani was younger, he would attack the brush each time I would try to use it. Same goes for nail trims. They will bite and they will hiss. Provide treats in between each toe until they calm down and then spoil them with lots of love and treats after.
Health and Veterinary Considerations

Gather medical records from the shelter. You can read the medical records if you would like, I personally did not understand those records until I worked in the field, now I know what to look for. This will help a veterinarian know what vaccines they have had, if your kiddo has any pre-existing conditions and if they were spayed or neutered.
Be sure to research and contact local veterinarians and schedule an initial wellness exam within the first two to three weeks of brining your kiddo home. This is especially important if your kitten has pre-existing conditions, on medication, or a vaccine is due. You will be able to get a second opinion on their medication and issues. Getting a second opinion also sees if the shelter or previous owners missed any existing conditions.
Budget for immediate health needs. This includes parasite and flea treatment, infections, medications and vaccines. If you did not plan enough for the cost, you can ALWAYS ask your veterinarian for an itemized receipt with prices for treatment and consult with them on what is important now and what can wait.
This is not required, but it helps to prepare, especially if the shelter helps you be aware of your new kiddos pre-existing conditions before you take them home. Understand common kitten health concerns. This includes, but is not limited to Felv/ FIV (especially if they were a stray), Feline Distemper, Giardia, round worm (and other parasites), sensitive stomach, etc.
You, usually, do not need these items immediately (I do not want to promise anything), but it is good to eventually prepare- stock on basic first aid supplies. This can be important if you live on land or plan to take your kiddo outdoors a lot (hiking, camping, etc.). It has been more common for cat owners to bring their cats with them everywhere. This includes bandages (not commonly needed for cats, but good to have on hand), antiseptic, thermometer (for ear or rectal- rectal is most accurate, but most uncomfortable for the kiddo), lubricant if using rectal thermometer, and prepare emergency contacts.
Plan for potential behavioral issues. Usually, shelter can be good at catching obvious behaviors, sometimes certain behaviors do not show until they are in a more settled state. Behavioral issues take time, consistent training, positive reinforcement and experiences and even can require professional help. Kittens are in a learning stage, so they do, normally, follow their owners’ personalities or other cats. Do your research and talk with your veterinarian for a second opinion.
Lastly, plan for a quarantine period, if needed. This usually happens if the kiddo was diagnosed with a contagious condition that the staff had to treat. This is usually an infection (parasitic, viral or bacterial). Whether you have pets or not, they will you ask to keep your kiddo indoors, possibly a single room for 1-2 weeks to make sure the infection is cleared and so you have a smaller area to disinfect. Then they will recommend you to follow up with a veterinarian, either their own for no cost or your own local vet.
It can also be good to discuss spay and neutering (we will go over this and the pros and cons in a different article), if they have not been already. When it comes to a microchip, I will leave that opinion to you. A microchip can be beneficial if your cat runs away or accidentally gets out, but you would need to keep your information updated. It can be a lot if you do not remember your login information (this happens to almost all pet owners including me).
Introductions to Other Pets and People
Just like gradually introducing your home to your new kitty, you should always gradually introduce your pets days to weeks later. You will have to read both pets in this situation. Your new kiddo could be fine, but your kiddo you have had for 1+ years could be very unhappy or vice versa.
Female cats, usually, have a more difficult time adjusting to other animals especially other cats. Two boy kitties can be easier, but this also depends on one or both personalities.
My boyfriend and I were very lucky. Kani has been bored at home when I started working full-time after being home for a while. When we brought Jace home, we took Jace straight to his set up in the bathroom. He was a bit nervous. Kani sat outside the door a bit upset that we were all in the bathroom without him.
I was going to wait at least a day or two to introduce them. Jace was already walking around very curious about the room. Kani would stick his paw under the door and Jace was even more curious. So, we cracked the door so they could see and sniff each other. Jace got very excited and so did Kani.
We decided to fully open the door (I know most people may be against this because it was the first day, but Jace seemed more nervous with just Jacob and I and felt more comfortable with Kani since he was so tiny). Kani and Jace played immediately after Jace explored the rest of the apartment and they played for four hours straight.
Not everyone is as lucky as my boyfriend and I. Jace soon started feeling much more comfortable with us once he saw Kani was cuddling and playing with us. Now, this leads to the second part of adjusting. As happy as Kani and Jace were to have each other, Kani eventually started getting bothered that we were paying more attention to Jace than him. We were also a bit more protective of Jace in the beginning because Kani was much bigger and would get a bit too rough and persistent.
Jace was only 8 weeks when we got him and Kani was 3 years old by that time. We did have to end up helping Jace more. With that, I realized Kani was getting upset and decided to have pure Kani play time. I did this by putting Jace aside, gently, and in front of Kani whenever Jace would try to interfere with Kani’s play time. This did help Kani feel more loved and show that I still loved him very much and valued his time and attention. Things mellowed out between them from there.
Even though things started out good, there was still an adjustment period that was necessary. Whether your situation is like mine or not, use your own discretion of your situation.
Not all pets adjust the same, therefore, it is important to follow these main guidelines and read both of your furry kiddos.
Start with separate spaces. Not allowing your animals to see each other but be able to sniff each other from under the door.
Try the scent swopping technique. You can allow each pet to sniff each other’s toys, blanket, bed, etc. and see how they react. (I highly recommend this first if one or both pets are upset or still very nervous). Then you can lock your other pets away to allow your new kitten to explore once they seem more curious to visit more of the home. This will allow them to smell your other pets and family members allowing their scent to fill the room so your other pets can smell them once they are back out. Do not allow your other pets into your new kitten’s environment, just yet.
Feeding your pets on opposite sides of the door. This creates a positive experience during meal times.
Once you feel both of your pets feeling more comfortable with the other’s scent and they both seem more curious of each other through the door or at least can tolerate each other, you can start visual introduction through the door, baby gate or crate. You can crack the door to allow them to see each other and see how they react. If they seem to want to play you can move on to the next step. If one or both pets seem spicy still, you can try again later.
Supervised meetings can be an exciting and nervous time because it can either start out great and go bad, start out bad and turn out great, or just be a great experience overall. This allows both pets and your family to explore the room together and get used to each other’s presence. I do not recommend this in the new kiddo’s room, so they feel they still have a safe space to fall back to if they need more time to adjust.
Once fully open to each other, provide separate resources. This includes multiple food stations, litter boxes, and resting areas. We did have to feed Kani and Jace in separate rooms at first because Jace would scarf down his food and immediately go after Kani’s food. This happened because he was used to having to fight for his from other kittens. Kani was nice to him, but Jace already had a very sensitive stomach from all the stress and Kani had Iams adult cat food while Jace was still on HIll’s Science Diet for Kittens.
Be sure to be patient and take your time with introductions (unless you have my situation and your cat feels more comfortable with your current pet). The process can normally take a few days to a few weeks.
Conclusion
Preparing your home for kitten adoption might seem overwhelming at first, but remember – you don't need perfection, just preparation! The key is creating a safe, loving environment where your new kitten can explore, play, and grow into a confident cat.
Start with the essentials: safety, supplies, and space setup. Everything else can be adjusted as you learn your kitten's unique personality and preferences. Most importantly, be patient with yourself and your new furry kiddo during those first few months of adjustment. You got this!
Ready to start your kitten adoption journey? Save this checklist and begin preparing your home today. Your perfect kitten companion is waiting for you!